
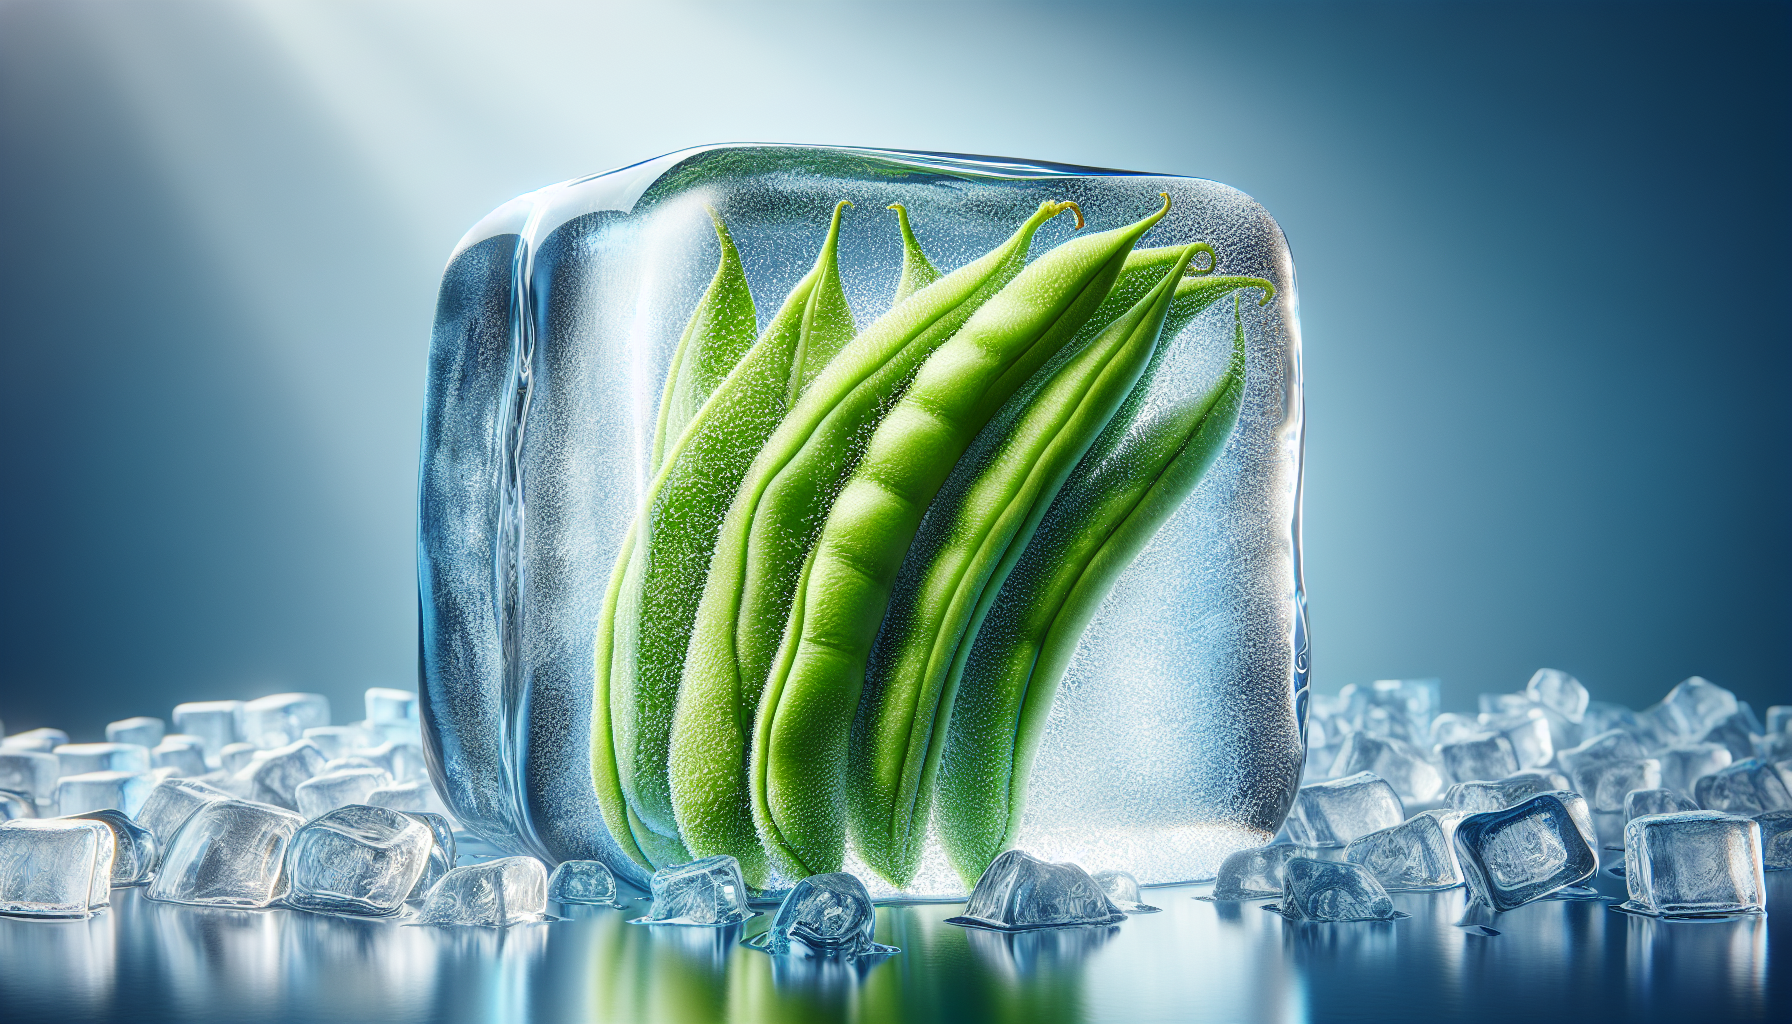
Are you a fan of green beans and want to enjoy their fresh taste even when they’re out of season? Look no further! In this article, you will discover a simple and efficient method on how to freeze green beans. Whether you have a surplus of homegrown beans or want to take advantage of a great deal at the farmer’s market, freezing green beans is a fantastic way to preserve their flavor and nutrients. With just a few steps, you’ll have a stockpile of green beans ready to be added to your favorite dishes all year round.
Harvesting and Preparing Green Beans for Freezing
Choosing the Right Green Beans
When it comes to freezing green beans, choosing the right ones is crucial. Look for beans that are firm, crisp, and without any blemishes or signs of decay. The size of the beans also matters, as smaller ones tend to be more tender.
Picking Ripe Green Beans
To ensure the best flavor and texture, it’s important to pick green beans when they are ripe. When the beans are fully matured, the pods will be firm, smooth, and bright green in color. Avoid picking beans that are overripe or have started to yellow, as they may be tough and less flavorful.
Sorting and Cleaning Green Beans
Before blanching and freezing, it’s essential to sort and clean the green beans. Start by removing any leaves, stems, or debris attached to the beans. Then, give them a thorough rinse under cool running water to remove any dirt or insects. Once cleaned, pat them dry with a clean kitchen towel or paper towels.
Blanching Green Beans
Preparing the Blanching Pot
Blanching is a crucial step in the freezing process that helps preserve the color, texture, and nutrients of the green beans. To prepare the blanching pot, fill it with water, leaving enough space for the beans to be fully submerged. Bring the water to a rolling boil and add a pinch of salt.
Blanching Green Beans in Boiling Water
Once the blanching pot is ready, carefully drop the sorted and cleaned green beans into the boiling water. Ensure that the beans are fully submerged and cook them for about 2-3 minutes, depending on the size. Blanching helps to deactivate enzymes that can cause the beans to deteriorate during freezing.
Blanching Green Beans in a Steam Bath
Alternatively, you can blanch green beans in a steam bath. This method is preferred by some as it helps retain the nutrients and flavor of the beans. Simply place the beans in a steam basket or colander over boiling water and cover with a lid. Steam for about 4-5 minutes until the beans are tender-crisp.
Cooling and Prepping Green Beans for Freezing
Plunging Green Beans into Ice Water
After blanching, it’s crucial to cool the green beans quickly to stop the cooking process. This can be done by plunging the beans into a bowl filled with ice water. The ice water will cool the beans rapidly and help preserve their vibrant color.
Draining the Green Beans
Once the green beans have cooled completely in the ice water, drain them thoroughly. This step is important to ensure that excess moisture is removed before freezing. You can use a colander or strainer to drain the beans effectively.
Removing Excess Water from the Green Beans
To ensure the best freezing results, it’s important to remove any excess water from the beans. Pat them dry gently with a clean kitchen towel or paper towels. Alternatively, you can let them air-dry for a few minutes before proceeding.
Packaging Green Beans
Choosing Appropriate Freezer Containers
When it comes to packaging green beans for freezing, it’s important to choose containers that are suitable for long-term storage. Freezer-safe plastic bags or airtight plastic containers are ideal. Avoid using regular food storage bags, as they may not provide adequate protection against freezer burn.
Preparing Freezer Bags or Containers
Before filling the freezer bags or containers, ensure they are clean and dry. If using plastic bags, leave about an inch of headspace to allow for expansion during freezing. For airtight plastic containers, make sure they are properly sealed to prevent any air from entering.
Portioning the Green Beans
To make it easier to use the frozen green beans later, consider portioning them before freezing. Dividing the beans into smaller portions allows you to thaw only what you need without having to defrost the entire package. This way, you can enjoy the freshness of the beans for a longer period.
Freezing Green Beans
Labeling Freezer Containers or Bags
Before placing the green beans in the freezer, it’s essential to label the containers or bags with the date of freezing. This will help you keep track of their freshness and ensure that you use them within the recommended timeframe.
Storing the Green Beans in the Freezer
Once the green beans are properly packaged and labeled, place them in the freezer. Ensure that they are laid flat in a single layer to promote faster freezing. Once frozen, you can stack them if needed. Remember to keep them away from the freezer door to prevent temperature fluctuations.
Thawing and Using Frozen Green Beans
Thawing Frozen Green Beans
When you’re ready to use the frozen green beans, it’s best to thaw them before cooking. The easiest and safest way to thaw the beans is by transferring the desired portion to the refrigerator the night before. Allow them to thaw slowly in the fridge, and they’ll be ready to use the next day.
Cooking with Frozen Green Beans
Frozen green beans can be used in a variety of dishes, from stir-fries to soups and more. Simply add them directly from the freezer to your recipe, adjusting the cooking time as needed. As previously blanched beans, they will retain their color, texture, and flavor when cooked properly.
Tips and Tricks for Freezing Green Beans
Using Vacuum Sealing for Extra Protection
For the ultimate protection against freezer burn, consider using a vacuum sealer to package your green beans. Vacuum sealing removes all the air from the packaging, ensuring that the beans stay fresh and retain their quality for an extended period.
Adding Seasonings to the Green Beans
If you prefer to have seasoned green beans ready to cook, you can add your favorite herbs and spices before freezing them. Simply toss the blanched and cooled beans with your desired seasonings, such as garlic, lemon zest, or even a touch of chili flakes, before packaging them for the freezer.
Canning Green Beans as an Alternative
If you’re looking for a different preservation method, canning green beans can be a great option. Canned beans are shelf-stable and can be stored for a longer time without the need for freezing. Proper canning techniques and equipment should be used to ensure safe and successful canning.
The Ideal Storage Duration for Green Beans
While properly frozen green beans can retain their quality for up to 10 to 12 months, it’s best to use them within 8 to 10 months for the best taste and texture. As time goes on, the quality may deteriorate, and the beans may lose their vibrant color and crispness. So, it’s always a good idea to rotate your frozen green bean stock and use the older ones first.
With these simple steps and tips, you can now confidently freeze green beans and enjoy their fresh taste throughout the year. Whether you grow your own or buy them in bulk during harvest season, freezing green beans is a fantastic way to preserve their flavor, texture, and nutrients for future use. So go ahead, stock up on green beans, and start freezing them today!