

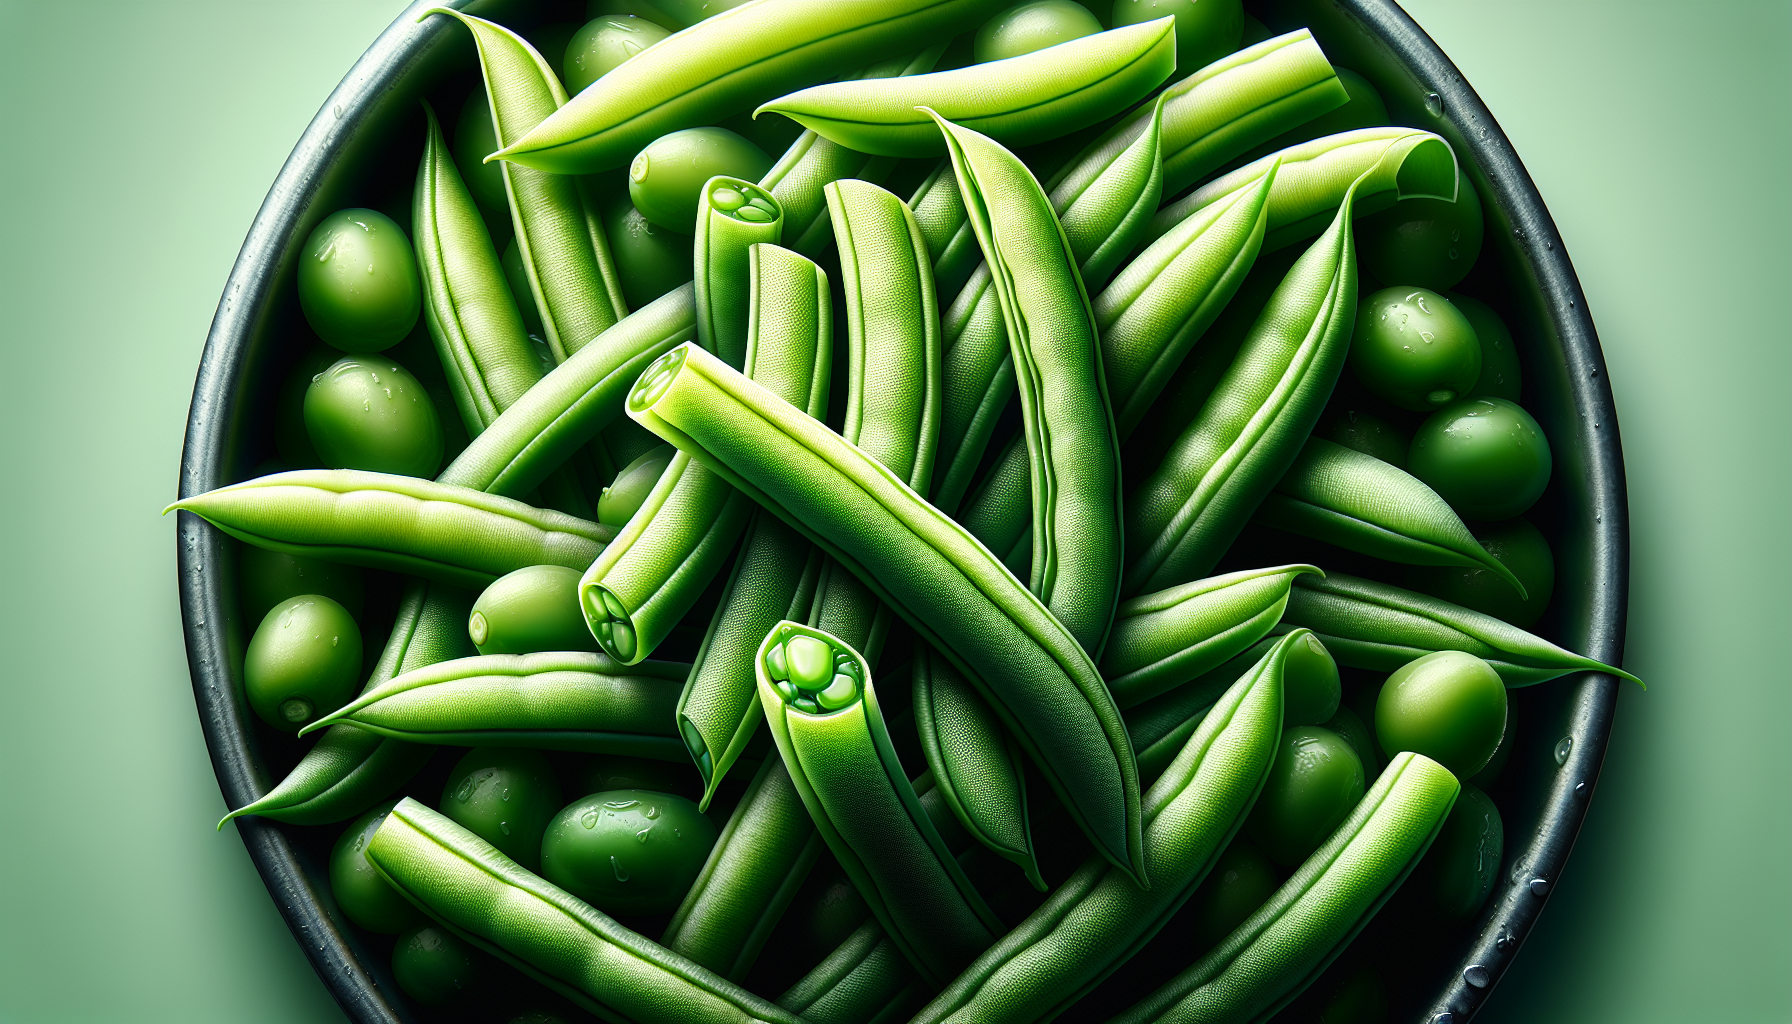
Are you wondering how to preserve the freshness of your green beans for an extended period of time? Look no further! This article will guide you through the simple steps to freeze your fresh green beans, ensuring that you can enjoy their vibrant flavor and nutritional value throughout the year. Whether you have a surplus from your garden or came across a great deal at the local farmer’s market, freezing green beans is an excellent way to make sure they don’t go to waste. With this easy method, you’ll be able to stock up on this versatile vegetable, ready to be used in your favorite recipes whenever the mood strikes. So grab your apron and let’s get started!
Preparing Green Beans for Freezing
Cleaning the Green Beans
Before you start the process of freezing green beans, it’s essential to clean them thoroughly. Begin by rinsing the green beans under cool, running water to remove any dirt or debris. You can place them in a colander and give them a gentle shake to ensure all the dirt is removed. If you notice any discolored or damaged beans, be sure to discard them. Cleaning the green beans ensures that you freeze them in the best possible condition.
Trimming and Cutting the Green Beans
After cleaning the green beans, it’s time to trim and cut them to the desired size. Start by trimming off both ends of the beans with a sharp knife or kitchen shears. Some people prefer to leave the beans whole, while others prefer to cut them into smaller pieces. If you decide to cut them, make sure they are of uniform size to ensure even cooking. If you’re planning to freeze them for soups or stews, you may want to cut them into bite-sized pieces. Take your time during this step to ensure all the green beans are cut and ready for blanching.
Blanching the Green Beans
Blanching is a crucial step in the freezing process as it helps to preserve the color, texture, and nutritional value of the green beans. To blanch the green beans, you will need a large pot of boiling water and a bowl of ice water. First, carefully lower the trimmed and cut green beans into the boiling water and let them cook for 2-3 minutes. This blanches the beans and stops the enzymes that lead to the loss of quality during freezing. After blanching, quickly transfer the green beans into the bowl of ice water to cool them down rapidly and stop the cooking process. Once the beans are completely cool, drain them thoroughly before proceeding to the packaging and freezing step.
Packaging and Freezing Green Beans
Cooling the Blanched Green Beans
After draining the blanched green beans, it’s important to ensure they are completely dry before packaging them for freezing. Lay them out on a clean kitchen towel or paper towels and allow them to air dry for about 15-20 minutes. This drying process helps to prevent the formation of ice crystals during freezing, which can deteriorate the quality of the green beans. Once the beans are dry and moisture-free, you’re ready to proceed with choosing the right freezing method.
Choosing the Right Freezing Method
When it comes to freezing green beans, you have a few options to choose from. The most common methods include using plastic freezer bags, vacuum sealer bags, or freezer containers. Each method has its pros and cons, so it’s essential to choose the one that best suits your needs and preferences.
Using Plastic Freezer Bags
Plastic freezer bags are a popular choice for freezing green beans due to their affordability and convenience. To use this method, simply pack the cooled and dried green beans into the plastic bags, remove as much air as possible, and seal them tightly. Be sure to label each bag with the date of freezing for easier identification later on. It’s recommended to use sturdy, thick freezer bags to prevent any damage or freezer burn during storage.
Using Vacuum Sealer Bags
If you have a vacuum sealer at home, it can be a great investment for freezing green beans. Vacuum sealers help to remove all the air from the bags, creating an airtight seal that preserves the freshness and quality of the green beans for a longer period. Follow the instructions provided with your vacuum sealer to pack the blanched, cooled, and dried green beans into the vacuum sealer bags correctly. Ensure proper sealing and labeling before placing them in the freezer.
Using Freezer Containers
Freezer containers offer a more durable and reusable option for freezing green beans. Look for containers specifically designed for freezer storage, ensuring they are airtight and leak-proof. Pack the cooled and dried green beans into the containers, leaving some headspace to accommodate expansion during freezing. Seal the containers tightly and label them with the freezing date.
Storing and Thawing Frozen Green Beans
Labeling and Storing Frozen Green Beans
Properly labeling and organizing your frozen green beans will make it much easier to find and use them later on. Use waterproof labels or permanent markers to write the date of freezing on each bag or container. If you have multiple batches of frozen green beans, it’s helpful to label them with additional information like the variety of beans or any specific recipes you plan to use them in. Arrange the frozen green beans in your freezer in a way that allows for easy access and rotation, placing the newest batches at the back.
Thawing Frozen Green Beans
When you’re ready to use your frozen green beans, it’s important to thaw them properly to maintain their quality and flavor. There are a few different methods for thawing frozen green beans. The first and easiest method is to transfer the desired amount of frozen green beans from the freezer to the refrigerator. Allow them to thaw slowly overnight or for several hours until they are fully thawed. This method ensures a gentle thaw without compromising the texture and taste of the green beans.
If you need to thaw the green beans quickly, you can also use the cold water thawing method. Simply place the sealed bag or container of frozen green beans in a large bowl of cold water. Change the water every 30 minutes to maintain a cold temperature. The green beans should thaw within a couple of hours using this method.
Avoid thawing frozen green beans by leaving them at room temperature or using hot water as these methods can lead to bacterial growth and compromise the safety of the beans.
By following these steps for preparing, packaging, storing, and thawing frozen green beans, you can enjoy the taste and nutritional benefits of garden-fresh beans all year round. Whether you plan to use them in casseroles, stir-fries, or simply as a side dish, frozen green beans are a versatile and convenient addition to any meal. So, don’t let those extra green beans go to waste – freeze them and savor the flavors of summer for months to come!
