
'Waste not, want not,' as the saying goes, and when you're looking to extend the shelf life of your lunch meats, freezing is a savvy option to consider.
You might wonder how you can preserve the taste and texture of your deli favorites once they're subjected to the chill of the freezer. It's quite straightforward: you'll need to select the right types of lunch meat that freeze well, such as turkey, ham, or roast beef.
Before you toss the meat into the freezer, there's a proper way to prepare and package it to ensure maximum freshness. The trick lies in the details, from layering sheets of freezer paper between slices to expelling excess air from the packaging.
And while these steps are simple, the nuances in technique can make all the difference. Stay tuned to uncover the secrets to freezing and thawing your lunch meats with finesse, ensuring that sandwich at your next lunch remains just as delicious as the day you bought the meat.
Key Takeaways
- Drier meats like salami and pepperoni freeze better than moist varieties like turkey or chicken
- Lunch meats with higher preservative levels withstand freezing with less quality loss
- Proper packaging techniques such as vacuum sealing or using heavy-duty freezer bags can prevent freezer burn and preserve quality
- Thaw frozen lunch meat in the refrigerator for slow and safe thawing, or use cold water submersion for quicker thawing
Selecting Suitable Lunch Meats
When choosing lunch meats to freeze, it's essential to consider both their texture and moisture content for optimal freshness upon thawing. You'll find that meat types such as turkey, chicken, ham, and roast beef vary greatly in these aspects.
Drier meats like salami and pepperoni, with their low moisture content, generally freeze better and suffer less texture degradation than more moist varieties like turkey or chicken.
Pay close attention to the preservative content as well. Lunch meats with higher preservative levels tend to withstand freezing and thawing with less quality loss. These preservatives help to maintain flavor and prevent spoilage, both before and after freezing.
However, if you're leaning towards healthier options with lower preservative content, rest assured, you can still freeze these meats—just be mindful that their shelf life might be shorter.
Preparing Meat for Freezing
Having selected the right lunch meats based on texture and preservative content, you'll now want to properly prepare them for freezing to ensure they maintain their quality. The key to freezing lunch meats successfully lies in how you handle them before they hit the cold. Here's a straightforward guide to get you started:
- Meat Slicing: If your lunch meats aren't already pre-sliced, slice them to your preferred thickness. Thinner slices freeze more uniformly and thaw quicker, which can be very convenient for meal prep.
- Portioning: Divide the meat into portions you'll realistically use in one sitting. This prevents you from having to thaw more meat than you need, which can affect the texture upon re-freezing.
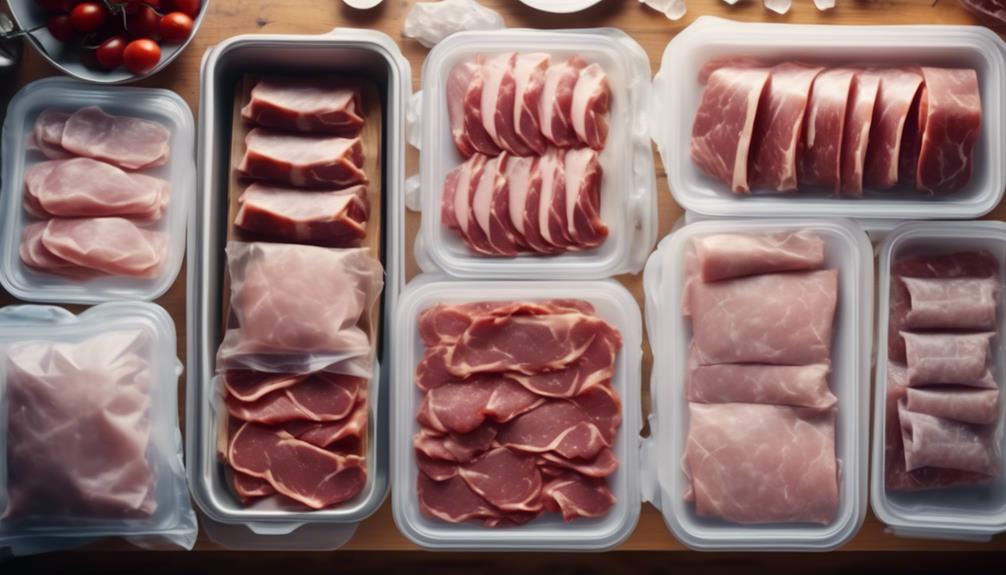
- Packaging: Wrap the portions tightly in plastic wrap or aluminum foil, pressing out as much air as possible. Then, place them in freezer bags or airtight containers. Label each package with the date to keep track of freshness.
- Blanching Process: While not commonly necessary for processed lunch meats, if you're freezing more natural or less processed meats, a quick blanching process can kill bacteria and extend shelf life even further before freezing.
Proper Packaging Techniques
To ensure your lunch meats retain their texture and flavor during freezing, it's crucial to master proper packaging techniques. Vacuum sealing is your best bet to prevent freezer burn and preserve quality. This method removes air, creating a tight moisture barrier around the meat. You'll need a vacuum sealer and compatible bags. If you don't have a vacuum sealer, use heavy-duty freezer bags as an alternative.
Here's a quick guide to help you package your lunch meat effectively:
| Step | Description |
|---|---|
| 1 | Portion your lunch meats into meal-sized quantities to avoid thawing more than you need at once. |
| 2 | If using freezer bags, expel as much air as possible before sealing. For vacuum sealing, follow the manufacturer's instructions closely. |
| 3 | Label each package with the date and type of meat. This helps you rotate stock and use the oldest meats first. |
Thawing and Serving Suggestions
Once your lunch meats are securely packaged and frozen, you'll want to know the best methods for thawing and serving to ensure maximum freshness and flavor. Thawing lunch meat properly isn't only important for taste but also for safety precautions to prevent foodborne illnesses. Here's how you can do it right:
- Refrigerator Thawing:
Place the frozen lunch meat in the refrigerator and let it thaw slowly. This is the safest method, as it keeps the meat at a consistent, safe temperature. It usually takes a few hours to overnight, depending on the thickness.
- Cold Water Thawing:
For a quicker option, submerge the sealed package in cold water, changing the water every 30 minutes. This method is faster than refrigerator thawing but requires more attention to ensure safety.
- Avoid Microwave Thawing:
While you might be tempted to use the microwave, it can cause uneven thawing and may partially cook the meat, affecting texture and flavor.
- Recipe Integration:
If you're cooking a dish that requires heating, you can add the frozen lunch meat directly to the recipe. This is convenient and safe, as the cooking process will thaw the meat.
Tips to Maximize Freshness
Ensure your lunch meats retain their taste and texture by following these key tips to maximize freshness after thawing.
First, be mindful of storage duration. Lunch meats are best consumed shortly after thawing, typically within three to five days. Keep a close eye on the 'use-by' dates before freezing, and label your packages with the freezing date to track how long they've been stored.
Adjust your freezer settings to maintain a consistent temperature of 0°F (-18°C) or below. This minimizes the risk of freezer burn and preserves the lunch meat's quality.
When you're ready to thaw, do so in the refrigerator, not on the countertop, to keep the meat at a safe temperature.
Once thawed, store the lunch meat in the coldest part of your fridge, usually the bottom shelf or a dedicated meat drawer. This ensures the meat stays as fresh as possible until you're ready to enjoy it.
Always keep the lunch meat sealed in an airtight container or wrapped tightly to prevent air exposure, which can dry out the meat and affect its flavor.