
Nearly 2.6 million Americans have incorporated kefir into their diet due to its health benefits. If you're among this growing number of kefir enthusiasts, you may find yourself with an abundance of kefir grains and wonder how to preserve them for future use.
Freezing kefir grains is a viable option that can help you maintain a continuous supply. As you prepare to freeze your kefir grains, you'll need to know the proper techniques to ensure they remain viable and ready to ferment when you need them again.
In this guide, you'll learn the crucial steps to prepare your grains for freezing, the best practices to freeze them without damaging their fermenting abilities, and how to successfully thaw and reactivate them for your next batch of kefir.
So, let's explore how to secure the longevity of your kefir grains without compromising their probiotic prowess.
Key Takeaways
- Rinse kefir grains with cool, filtered water before freezing to remove milk residue.
- Use airtight containers or freezer bags to prevent freezer burn and dehydration.
- Label containers with the date of freezing for optimal revival.
- Thaw kefir grains slowly at room temperature and reactivate them by placing them in fresh milk.
Understanding Kefir Grains
Before diving into the freezing process, let's get to know kefir grains, the living cultures responsible for transforming milk into the nutritious, probiotic-rich beverage known as kefir. Originating from the Northern Caucasus Mountains, these symbiotic colonies of bacteria and yeast have been cherished for their health benefits for centuries. They look like small, gelatinous pearls and have a remarkable ability to ferment milk, creating kefir.
As you handle kefir grains, you're actually nurturing a complex microbial world. Each grain is a powerhouse of probiotics, which are beneficial for your gut health. They introduce good bacteria that can aid digestion, boost immunity, and even have a positive impact on mental health.
Moreover, kefir grains are a source of essential nutrients, including proteins, vitamins, and minerals. The fermentation process increases the availability of these nutrients, making them easier for your body to absorb. As you incorporate kefir into your diet, you're not only enjoying a tangy, refreshing drink but also taking a step towards a healthier lifestyle.
To maintain their vitality and ensure a continuous supply of kefir, understanding how to properly freeze kefir grains becomes crucial. It's a simple yet effective way to preserve their fermenting powers for future use.
Preparing Grains for Freezing
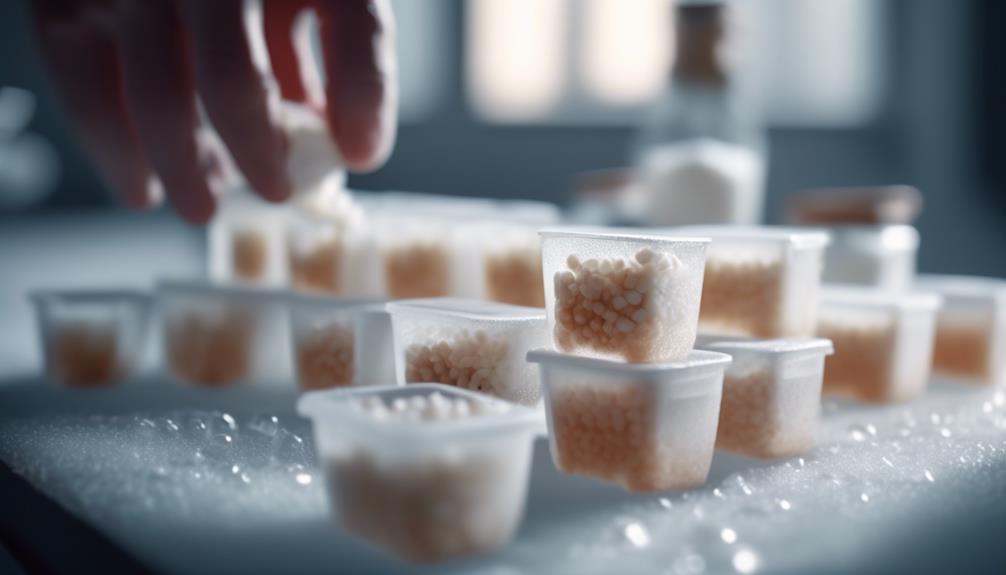
To properly freeze kefir grains, you'll first need to ensure they're clean and healthy, free from any milk residue. This is where grain rinsing comes into play. After your kefir grains have finished fermenting the milk, strain them out using a plastic sieve—metal can harm the grains. Gently rinse them with cool, preferably filtered water. This step washes away the lactose and other milk solids that could interfere with the freezing process.
Once your kefir grains are rinsed, it's crucial to pat them dry with a clean, non-lint towel to remove excess moisture. Any remaining water can form ice crystals that might damage the grains' delicate structure during freezing. Once dry, you're ready to move on to choosing the right storage containers.
Select a container that's airtight to prevent freezer burn and oxidation. Glass jars with tight-fitting lids or high-quality plastic containers are excellent choices. Portion your kefir grains into small batches, which allows you to thaw only what you need later, minimizing waste and preserving the grains' vitality. Finally, label the containers with the date, so you'll know how long they've been stored.
Properly prepared and stored, your kefir grains can be kept frozen for extended periods, ensuring they're ready for future use.
Best Freezing Practices
Having prepared your kefir grains for freezing, it's important to follow the best freezing practices to maintain their viability and ensure their long-term use. Ensuring grain longevity starts with how you freeze them. The freeze duration can also impact their health, so it's crucial to time it right.
When you store your grains, make sure to use airtight containers or freezer bags, which prevent freezer burn and dehydration. Label each container with the date of freezing; this helps you track how long the grains have been stored. Ideally, use your grains within 18 months for the best revival rates.
Here's a quick reference table to help you remember the key points:
| Best Practice | Reason |
|---|---|
| Airtight Containers | Prevents freezer burn and dehydration |
| Label with Date | Tracks freeze duration for optimal revival |
| Small Portions | Easier to thaw and reduces waste |
| Regular Inspection | Early detection of any issues with the grains |
Thawing Your Kefir Grains
When you're ready to reactivate your frozen kefir grains, carefully thawing them at room temperature is essential for preserving their fermenting abilities. The process is straightforward, but you must pay attention to detail to ensure grain longevity. Here's what you need to do:
- Remove the Grains from the Freezer: Take your kefir grains out of the freezer and transfer them to a clean container without any direct heat source. This gradual approach respects temperature considerations that are crucial for the revival of the grains.
- Let Them Thaw Slowly: Allow the grains to reach room temperature naturally. This can take several hours, so be patient. Rushing this process by using heat can damage the grains and reduce their effectiveness.
- Rinse and Reactivate: Once thawed, gently rinse your kefir grains with non-chlorinated water. Then, place them in fresh milk to reactivate the fermentation process. It may take a few cycles for the grains to return to their full activity level.
Reactivating Frozen Grains
After carefully thawing your kefir grains, it's time to focus on reactivating them to restore their fermenting prowess. Reactivation is crucial for maintaining grain longevity, ensuring you can continue to enjoy homemade kefir for the foreseeable future.
Begin by placing your thawed grains in a fresh batch of milk. The milk acts as a revitalizing bath, rehydrating the grains and supplying them with necessary nutrients. Use a non-metallic spoon to gently stir the grains into the milk, as metal can damage them.
Next, cover the container with a breathable cloth secured with a rubber band. This setup allows for proper airflow while keeping out contaminants. Place the storage container in a warm spot, away from direct sunlight. The ideal temperature for reactivation is between 68-85°F (20-30°C).
Monitor the fermentation process closely. Initially, the grains may take longer to ferment the milk, which is perfectly normal after freezing. Be patient; it can take a few cycles for the grains to return to their full activity.
Once the milk starts thickening consistently at your usual fermentation rate, your kefir grains are back in action. Remember, proper care and storage are key to maximizing the longevity and health of your kefir grains.