
Imagine your kale as a leafy green ice cube, ready at a moment's notice to chill and invigorate your favorite smoothie blend. You've picked a bunch of fresh, vibrant kale, and it's more than you can use before it wilts. Don't let it go to waste—freezing kale for smoothies is a breeze, and you'll thank yourself on those busy mornings.
Start by washing the leaves thoroughly, getting rid of any dirt or little critters that might be hiding in the curls and crevices. Then, strip the leaves from the tough stems; you don't want those fibrous bits in your drink. Once you've got your pile of clean leaves, you'll need to blanch them to preserve the color and nutrients—this step is crucial, and I'll tell you why.
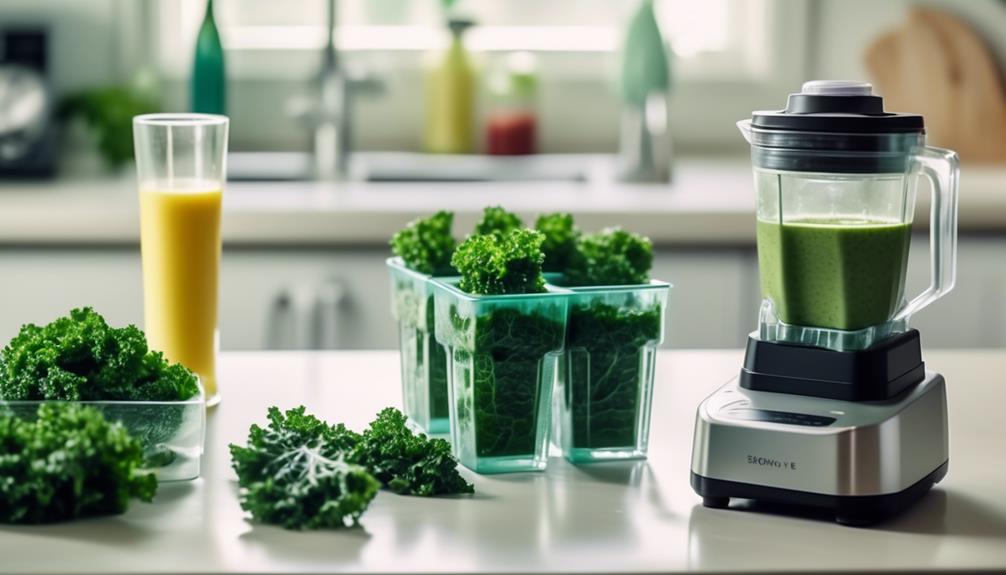
After a quick ice bath to stop the cooking process, you'll dry the leaves, lay them out on a baking sheet to pre-freeze, and then transfer them to airtight bags or containers. But there's a little trick to making sure they don't clump together like a bag of frozen peas, and I'm going to share that secret with you, ensuring you have the perfect single-serving portions for your smoothies whenever you need them.
Key Takeaways
- Choose fresh, vibrant green kale leaves without wilting or discoloration
- Blanch kale leaves to preserve color and nutrients
- Drain and dry the leaves before freezing
- Thaw frozen kale in the fridge overnight or in a bowl of cold water
Selecting the Best Kale
To ensure your smoothies are as nutritious and flavorful as possible, start by choosing fresh, vibrant green kale leaves without any signs of wilting or discoloration. You'll find several kale varieties at your local farmer's market or grocery store, each with its own unique taste and texture. Curly kale, with its ruffled edges, is a common favorite for its mild flavor, while Lacinato kale, also known as dinosaur kale, offers a slightly sweeter taste and a firmer texture that stands up well in smoothies.
When it comes to seasonal buying, keep in mind that kale is a hardy green that thrives in cooler temperatures. You'll get the best quality and flavor during fall through spring, which is prime kale season. This is when you want to stock up and freeze for later use. Freshness is crucial, as the nutritional value of kale diminishes with time. Look for leaves that are firm, deeply colored, and free from brown spots or yellowing.
Preparing Kale for Freezing
Before stashing your kale in the freezer, you'll need to clean and blanch it to preserve its vibrant color and nutrients.
Kale washing is your first step. Fill your sink or a large bowl with cold water and submerge the kale leaves. Gently swish them around to loosen any dirt or debris. After this spa-like bath, lift the leaves out and give them a good shake. You don't want them too wet when you blanch them.
Next up, leaf trimming. You'll want to remove the tough stems because they can be bitter and don't freeze as well as the leafy parts. Take each kale leaf and strip the leafy greens from the stems with a quick zip of your fingers or a knife. Now, those kale leaves are ready for a quick dip in hot water.
Blanching is like hitting the pause button on aging. It stops enzyme actions which can cause loss of flavor, color, and texture. Here's how:
- Bring a pot of water to a boil and prepare a bowl of ice water.
- Plunge the kale leaves into the boiling water for about 2 minutes.
- Quickly transfer them to the ice bath to cool down.
After blanching, drain the leaves well, pat them dry with a towel, and you're ready to pack them up for freezing.
Blanching Kale Leaves
Dive into blanching your kale leaves by boiling a pot of water, ensuring you have a slotted spoon and ice water bath at the ready to halt the cooking process promptly. This step is crucial for preserving kale's nutrition, as it helps maintain its vibrant color and health benefits.
Start by washing your kale thoroughly to remove any dirt or debris. Then, tear the leaves into bite-sized pieces, discarding the stems. Once your water is boiling, carefully add your kale leaves using the slotted spoon—no need to overcrowd the pot, do it in batches if necessary.
Let the kale leaves boil for about 2 minutes; you're not cooking them through, just giving them a quick heat shock. This is where the magic happens: it deactivates enzymes that can cause wilting and loss of flavor over time.
After the two minutes are up, immediately plunge the leaves into the ice water bath. This stops the cooking in its tracks, locking in that kale nutrition. Once cooled, drain the leaves well; excess water can turn to ice crystals and spoil the texture.
If you're not keen on boiling water, consider blanching alternatives like steaming. It's gentler on the leaves and retains that robust kale goodness for your smoothies.
Packaging and Storing Kale
After blanching and draining your kale leaves, it's crucial to package them properly to ensure they stay fresh and flavorful for your smoothies. Different kale varieties might have slightly different textures, but they all freeze well with the right technique.
Moisture control is key to preventing freezer burn and maintaining the quality of your kale. Here are some steps to pack your kale effectively:
- Dry Thoroughly: Pat the kale dry with paper towels or a clean cloth. Any excess moisture can turn into ice crystals, which could damage the kale's cell structure and taste.
- Airtight Containers: Use freezer bags or airtight containers to store your kale. Squeeze out as much air as possible before sealing to keep your kale vibrant and prevent oxidation.
- Portion Control: Divide your kale into portion-sized bags or containers. This makes it easier to grab just what you need for a smoothie, without having to thaw out a large batch.
Remember to label your packages with the date, so you'll know how long they've been in the freezer. Properly stored, your kale can last several months, ensuring you've got a steady supply of this nutritious green for your daily smoothies.
Thawing and Using Frozen Kale
Having packaged your kale in airtight containers, you're now ready to learn how to properly thaw and use it in your smoothies for that perfect blend of nutrition and taste. When it comes to thawing, you've got two straightforward options: leave the kale in the fridge overnight, or for a quick turnaround, set the bag in a bowl of cold water. However, here's a little secret—there's no need to thaw it all! Tossing frozen kale directly into your blender breaks it down just as well and keeps your smoothie refreshingly cold.
Now, let's talk about maximizing kale nutrition in your smoothie recipes. Kale is a powerhouse, packed with vitamins A, K, and C, along with minerals like calcium and iron. To preserve these nutrients, blend it with a liquid base like almond milk, coconut water, or yogurt. Add in fruits like banana or berries for natural sweetness and a creamy texture.