
You wash your fresh fruits, you juice them diligently, and you savor the burst of natural flavors—but what do you do when you've got more juice than you can drink? Freezing juice from your juicer is a viable option to preserve its freshness and extend its shelf life, but it requires a bit more than simply pouring it into a container and popping it into the freezer.
First, you'll need to select the right containers that are not only freezer-safe but also leave the appropriate headspace for expansion. Then, it's vital to understand how to prepare your juice for freezing to maintain its taste and nutritional value. As you explore the proper techniques for filling and sealing your containers, you'll discover the nuances that make all the difference between enjoying a vibrant glass of juice later and being disappointed by a lackluster icy beverage.
And while you might think you can just toss the containers in the freezer and forget them, knowing the best practices for freezer storage is key to avoiding freezer burn and taste degradation. Stick with us to uncover the steps to properly freeze your juice, and learn how to enjoy your homemade juices any time you want, without sacrificing quality.
Key Takeaways
- Select durable and non-reactive containers like glass or BPA-free plastic for freezing juice.
- Chill the juice in the refrigerator before freezing and add a splash of lemon juice to prevent oxidation.
- Use airtight containers or sealable bags and label each container with the freezing date.
- Thaw the frozen juice gradually in the fridge and shake or stir after thawing to mix any separation.
Selecting the Right Containers
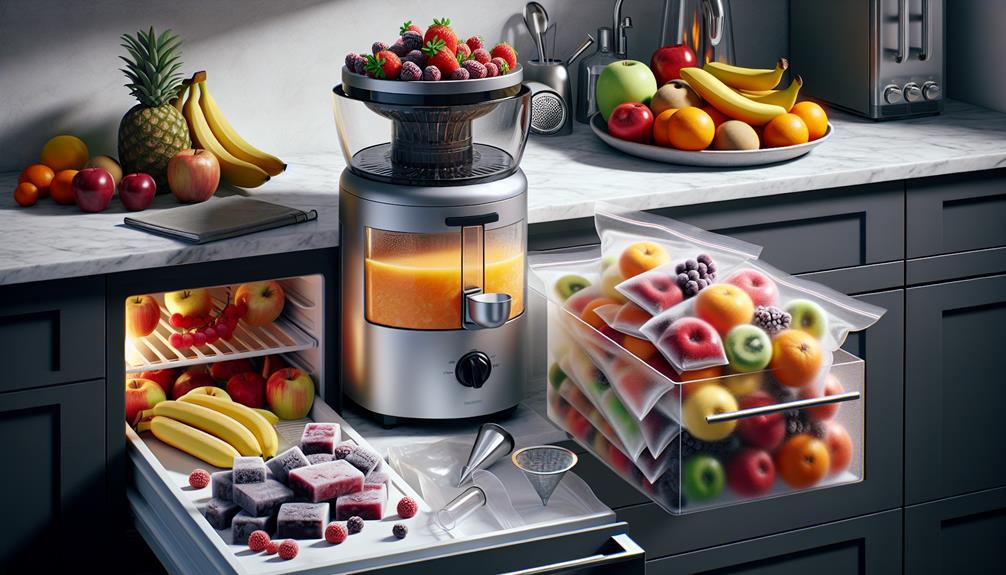
When freezing juice from a juicer, choosing the right containers is crucial to preserve flavor and prevent leaks. You'll want to consider container materials that are durable and non-reactive, like glass or BPA-free plastic. These materials won't absorb flavors or release harmful chemicals into your juice during the freezing process.
Glass is excellent for long-term storage, as it doesn't degrade over time and keeps your juice tasting fresh. However, it's essential to leave some space at the top of the jar since liquids expand when frozen, and you don't want the glass to crack.
On the other hand, BPA-free plastic is more forgiving if you accidentally overfill, as it can expand slightly, but make sure it's freezer-safe to avoid any mishaps.
Size considerations are also key. If you're planning on thawing and consuming the juice in one go, larger containers might work for you. But for portion control or if you prefer to use the juice incrementally, opt for smaller containers. They'll thaw faster and can also prevent waste by allowing you to defrost only the amount you need. Remember, the quicker the freeze and the thaw, the better the flavor and nutrient retention.
Preparing the Juice for Freezing
Before you pop your juice into the freezer, it's essential to ensure it's properly prepared to maintain its quality and flavor. Proper preparation will help in nutrient preservation and minimize juice oxidation, which can affect taste and health benefits.
Here's how to get your juice ready for the cold:
- Chill it first: Cool your juice in the refrigerator before freezing. This gradual temperature decrease helps preserve the flavor and nutrients.
- Fill to the right level: Leave about an inch of space at the top of your container to allow for expansion as the juice freezes.
- Mix in a bit of lemon: A splash of lemon juice can help prevent oxidation, keeping your juice fresher longer.
- Seal tightly: Use airtight containers or sealable bags to keep out air and prevent freezer burn.
- Label with dates: Mark the freezing date on each container to track how long your juice has been stored.
Filling and Sealing Techniques
To ensure your juice remains at its best quality upon thawing, mastering efficient filling and sealing techniques is crucial. Start by selecting the right container—plastic freezer bags or airtight plastic containers are both good choices. If you're using bags, fill them leaving about an inch of space at the top to allow for expansion. For containers, leave about half an inch of headspace.
When it comes to sealing, vacuum packing is an excellent method to prolong the shelf life of your juice. This process removes air before sealing, minimizing oxidation and freezer burn. If you don't have a vacuum sealer, you can use the water displacement method with a zip-top bag. Submerge the bag in water up to the seal to push out the air, then close it securely.
Heat sealing is another effective technique, especially for plastic bags. It creates an airtight seal that prevents air from entering and moisture from escaping. Ensure you follow the manufacturer's instructions for the best results.
Here's a quick reference table to guide you:
| Container Type | Sealing Method |
|---|---|
| Freezer Bags | Vacuum Packing |
| Airtight Containers | Lid Sealing |
| Plastic Bottles | Cap Tightening |
| Glass Jars | Lid Sealing |
| Mylar Bags | Heat Sealing |
Remember to label your containers with the date and contents before freezing. This will help you keep track of your frozen juice inventory.
Proper Freezer Storage Practices
Having mastered the art of filling and sealing your juice containers, it's essential to focus on the nuances of freezer storage to maintain the quality of your frozen juice. Temperature control and freezer organization play pivotal roles in ensuring that your juice stays fresh and vibrant while it's stored. Here's a methodical approach to proper freezer storage practices:
- Maintain a Consistent Freezer Temperature: Keep your freezer at or below 0°F (-18°C) to preserve the nutrients and flavors in your juice.
- Arrange Juices Strategically: Place your juice containers in the back of the freezer where the temperature is most stable.
- Label Your Containers: Mark each container with the date of freezing to monitor freshness and ensure proper rotation.
- Allow Space for Expansion: Juice expands when frozen, so leave some headspace in each container to prevent cracking or leakage.
- Avoid Overcrowding: Ensure that air can circulate around the containers to promote even freezing and maintain temperature control.
Thawing and Enjoying Your Juice
Once your juice is frozen solid, it's important to understand the proper way to thaw it for optimal taste and nutrient retention. The best approach to thawing is to plan ahead; transfer your frozen juice from the freezer to the refrigerator the night before you plan to consume it. This slow thawing process helps maintain taste preservation and nutrient retention, ensuring that your juice remains as fresh-tasting and nutritious as when you first made it.
Avoid the temptation to speed up the process by using a microwave or placing the juice in warm water, as these methods can cause nutrient breakdown and can negatively impact the flavor. Instead, let the juice thaw gradually in the fridge. If you're in a bit of a hurry, you can place the container of juice in a bowl of cold water to expedite the thawing slightly, but remember, patience is key for the best results.
Once the juice is completely thawed, give it a good shake or stir to mix any separation that may have occurred during freezing. Now it's ready for you to enjoy! Pour it into your favorite glass and savor the refreshing taste, confident that you've preserved the maximum flavor and nutrient content.