
Despite the fact that Marie Antoinette never actually uttered the phrase ‘Let them eat cake,’ you can certainly ensure your subjects have access to delicious homemade French fries any time by learning the art of freezing them.
First, you’ll need to select the right kind of potatoes—typically, russets or Yukon golds work best due to their high starch content. Once you’ve got your potatoes, you’ll wash, peel, and cut them into the desired shape, taking care to make the pieces as uniform as possible for even cooking.
Now, here’s where precision comes into play: blanching your fries in hot water to deactivate the enzymes that lead to spoilage is a crucial step you can’t skip. But don’t stop there; you’ll also need to master the flash freezing technique to prevent the fries from clumping together in the freezer. By following these steps, you’ll be able to preserve the fresh taste and texture of your homemade fries.
However, the process doesn’t end with simply tossing them into the freezer; there’s a specific method to ensure they come out as perfectly crispy as they went in, and it’s essential to know if you want to enjoy the fruits of your labor at their best.
Key Takeaways
- Russets and Yukon golds are the best potatoes for freezing homemade fries due to their high starch content.
- Blanch the fries in boiling water for 3-5 minutes to maintain their texture and prevent browning.
- Flash freeze the blanched fries on a flat baking sheet before transferring them to airtight containers or freezer bags.
- Thaw and reheat the frozen fries using the oven, air fryer, or deep fryer for crispy results.
Selecting the Right Potatoes
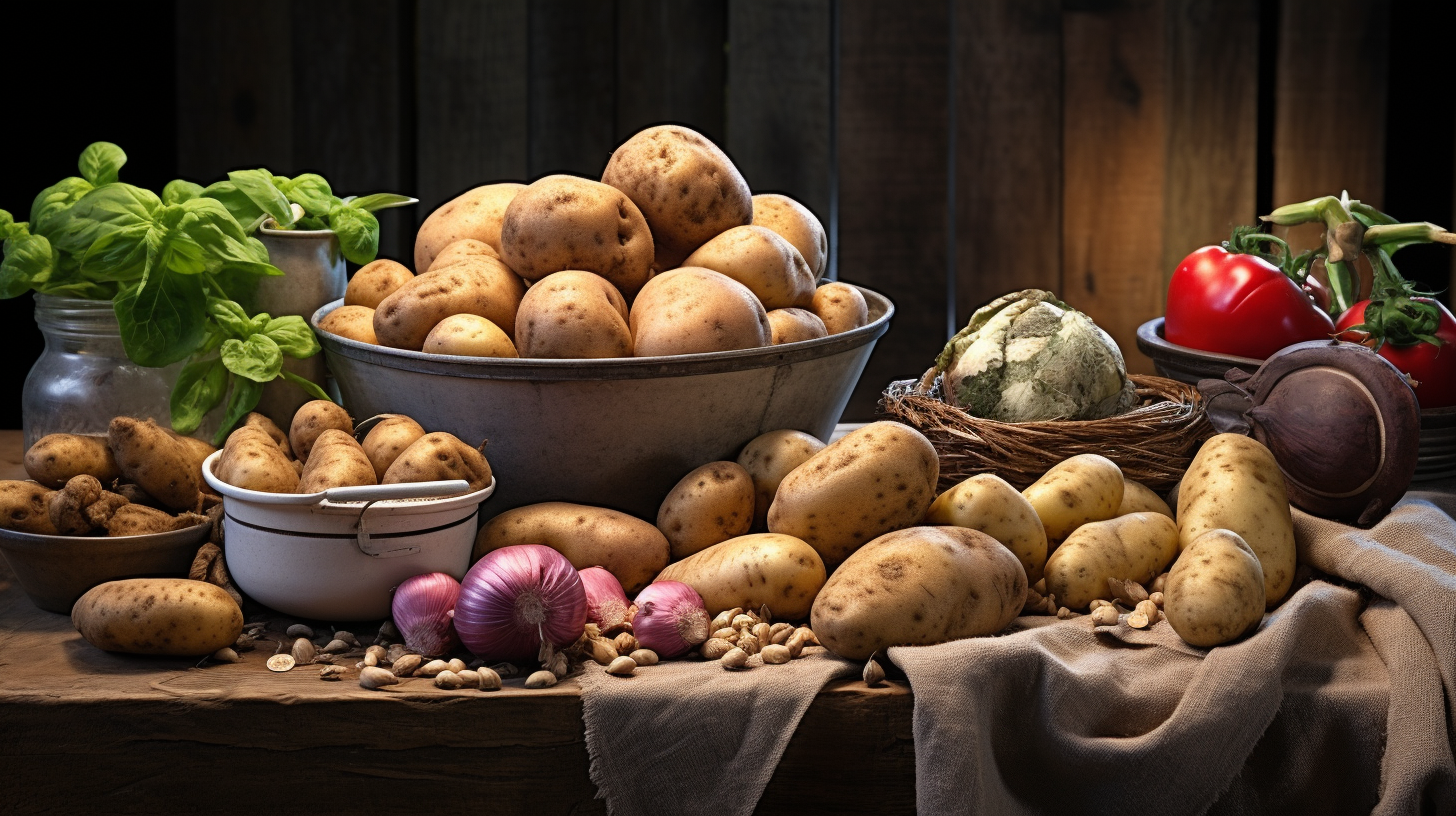
To ensure your homemade french fries have the perfect texture and flavor, it’s crucial to choose high-quality potatoes that are suited for frying. Among the various potato varieties, Russets stand out for their numerous benefits.
These starchy tubers are ideal for achieving that sought-after crispy exterior and fluffy interior.
When you’re selecting Russets, look for those that feel firm to the touch and are free of significant blemishes, sprouts, or a greenish hue. The size of the potatoes also matters. Opt for larger ones as they’ll yield more substantial fries and allow for a more uniform cut. Remember, consistency is key in cooking them evenly.
Before you begin slicing, consider the moisture content. Russet potatoes naturally have a lower water content, which means they absorb less oil during frying, resulting in a crisper fry. However, you’ll still want to soak your cut fries in cold water to remove excess starch, which further prevents the fries from sticking together and helps achieve that golden-brown perfection.
As you prep your potatoes, keep in mind that the quality of your end product heavily relies on the foundation you set with your potato choice. Russet benefits, like their optimal starch composition and ideal texture, are what make them the superior choice for your homemade french fries.
Preparing the Potatoes
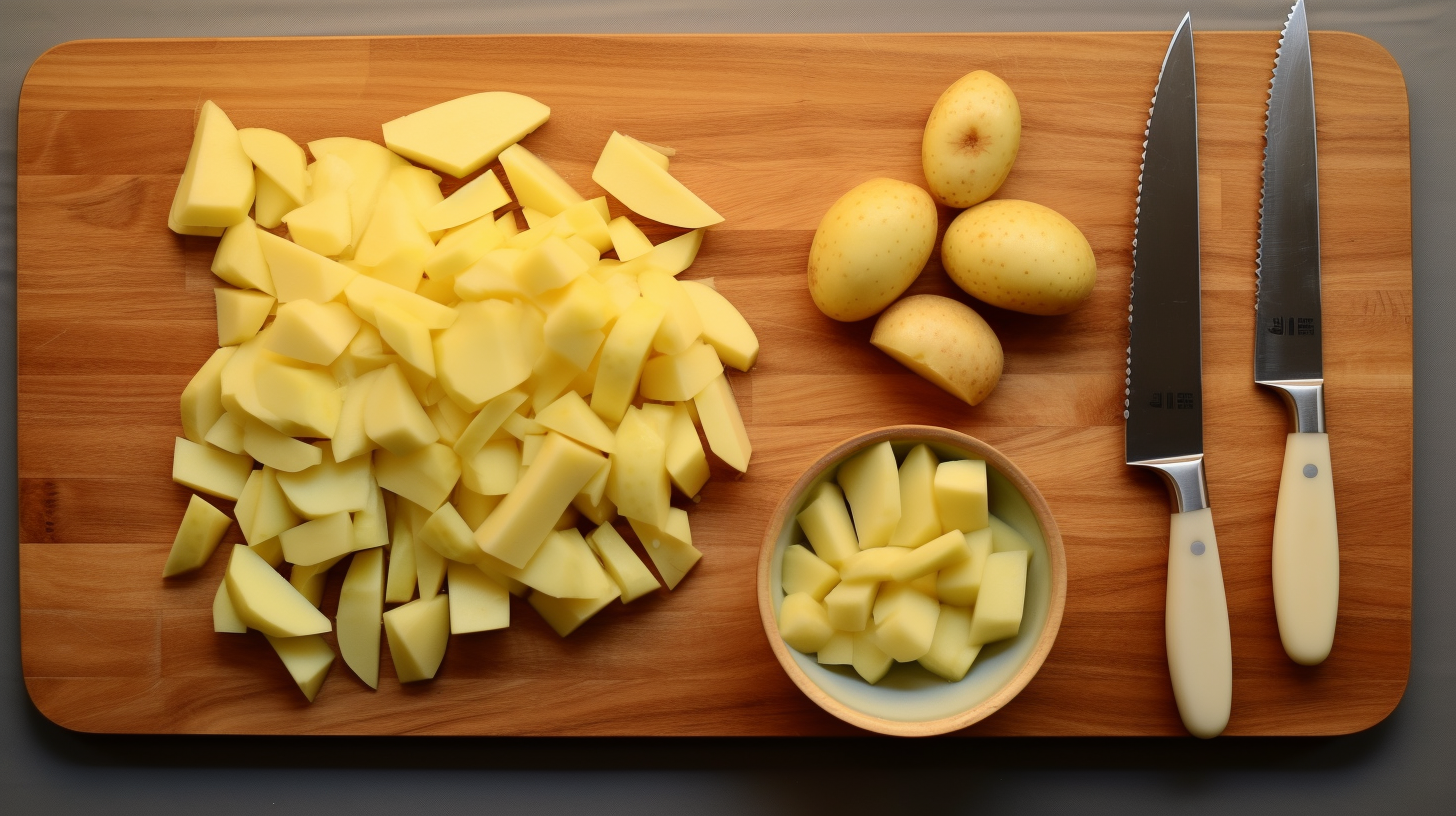
Once you’ve selected the ideal Russet potatoes, wash and peel them thoroughly to ensure a clean surface for slicing into evenly sized fries. Achieving uniformity in size is crucial, not just for even cooking, but also to ensure your fries freeze and reheat consistently. Let’s break down the preparation process into methodical steps:
- Cutting Techniques: Begin by cutting off the ends of each potato, then slice them into 1/4-inch thick slabs. Stack a few slabs at a time and cut them into 1/4-inch wide sticks. If you prefer a thicker fry, simply adjust the width of your cuts accordingly.
- Blanching: To prevent your fries from turning brown and to kickstart the cooking process, blanch them in boiling water for about 3-5 minutes, depending on their thickness.
- Drying: After blanching, dry the fries thoroughly with a clean kitchen towel or paper towels. Any excess moisture will affect the freezing process and can lead to soggy fries later on.
- Seasoning Options: Before freezing, you have the option to season your fries. Lightly toss them with oil and your choice of seasoning—salt, pepper, garlic powder, or any other preferred spices—to enhance their flavor.
Blanching the Fries
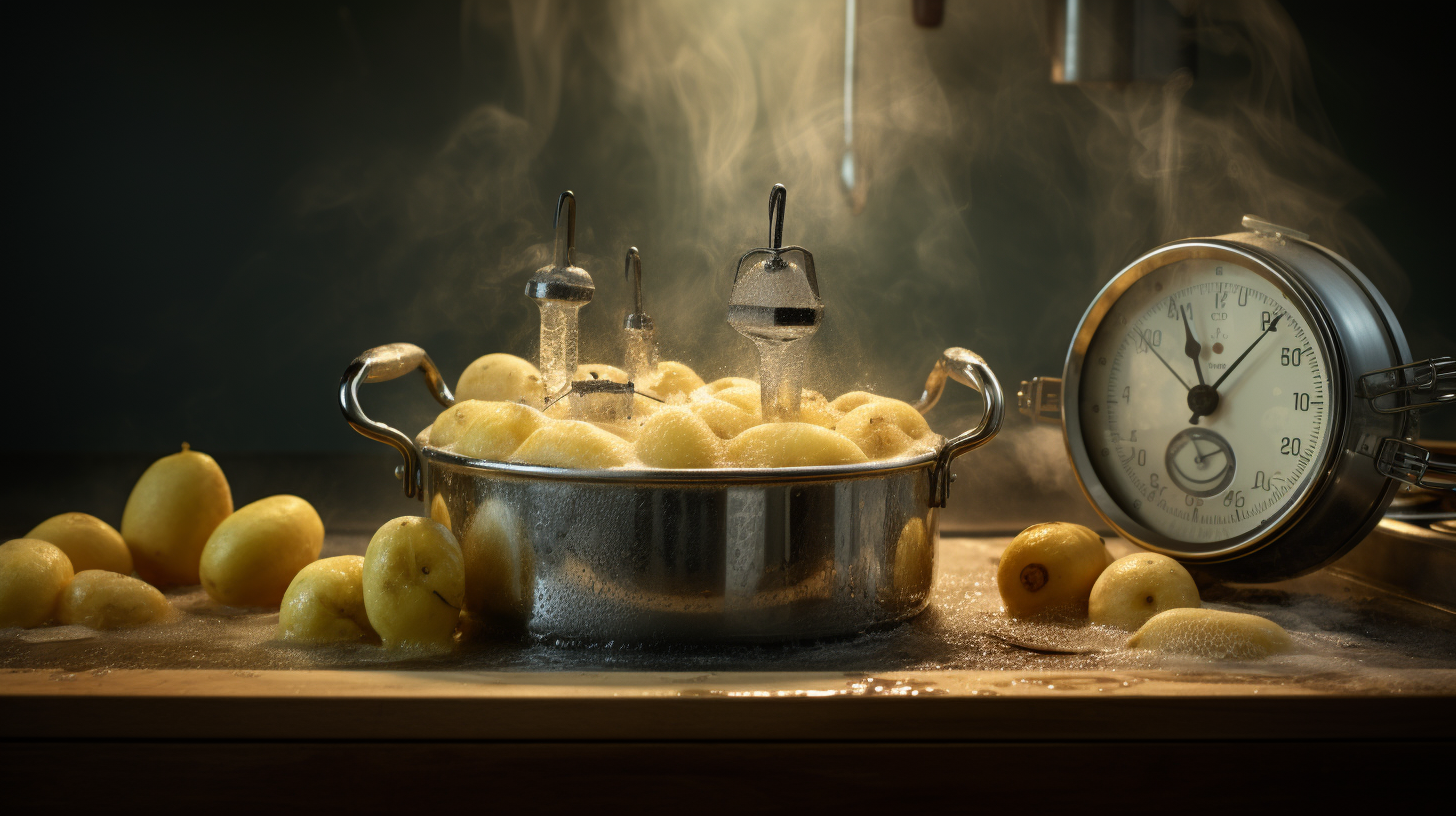
After slicing your potatoes into the desired fry shapes, the next essential step is blanching them to inhibit enzymatic browning and soften their texture for a more consistent freeze. This process is crucial for ensuring your fries don’t turn grey and maintain a pleasant texture when cooked.
To begin, you’ll need a pot of water brought to a high simmer. The oil temperature isn’t a concern yet since you’re working with water. It’s important to not overcrowd the pot, so you may need to blanch in batches depending on how many fries you’re preparing. Here’s a handy table to guide you through the blanching process:
| Step | Description | Detail |
|---|---|---|
| 1 | Heat Water | Bring water to a simmer, not a rolling boil |
| 2 | Add Fries | Place fries in the pot in batches |
| 3 | Blanching Time | Blanch for 3-5 minutes until tender |
| 4 | Cooling | Immediately cool in ice water to stop cooking |
Blanching time is typically 3-5 minutes. You’re aiming for the fries to be tender but not fully cooked. Once done, quickly move them to a bowl of ice water to halt the cooking process. This step is as critical as the blanching itself, as it ensures the fries’ texture remains perfect for freezing.
Flash Freezing Technique
Before you bag your blanched fries for storage, flash freezing is an effective technique to prevent them from sticking together. This step is crucial for ice crystal prevention, ensuring your fries remain separate and cook evenly later on.
Here’s how to execute the flash freezing method with precision:
- Prepare the Baking Sheet: Line a baking sheet with parchment paper to prevent sticking. Make sure the sheet is flat so the fries can lie in a single layer.
- Arrange the Fries: Place your blanched fries on the baking sheet, ensuring they don’t touch. This spacing is vital for proper air circulation and to prevent clumping.
- Freeze: Slide the baking sheet into the freezer. Freeze the fries for about 1-2 hours until they’re solid. This step is key for ice crystal prevention, as it freezes the outer moisture quickly.
- Package for Storage: Once they’re solid, promptly transfer the fries to airtight bags or containers. Use reliable packaging methods to maintain freshness and prevent freezer burn. Remember to remove as much air as possible before sealing to deter ice crystal formation.
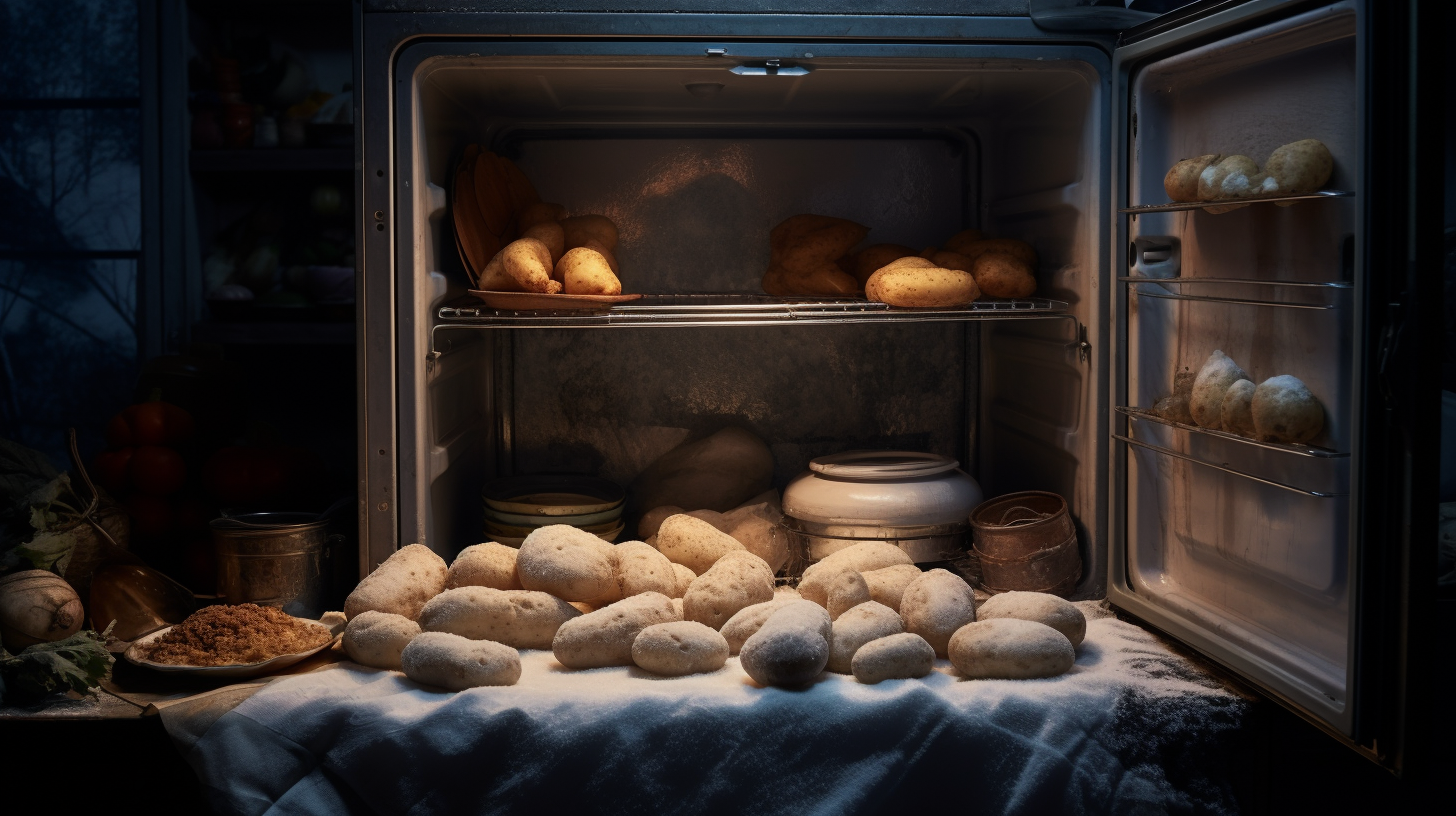
Storage and Thawing Tips
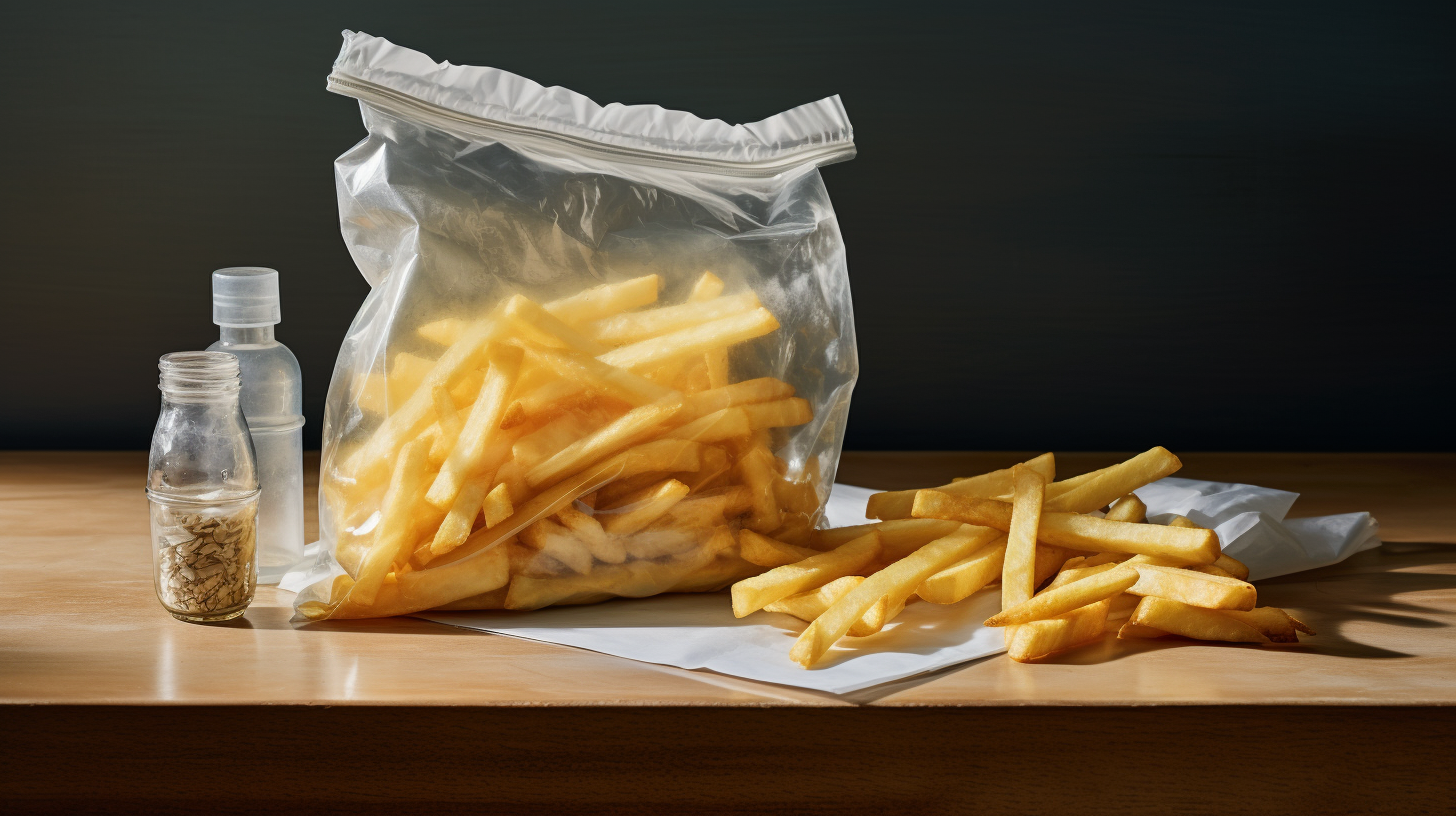
Having flash-frozen your French fries, it’s crucial to store them properly to maintain their quality and simplify the thawing process when you’re ready to cook. Start by selecting the right packaging options. Airtight containers or freezer bags are your best bet. If you’re using bags, squeeze out as much air as possible before sealing to prevent freezer burn. Label the container or bag with the date, so you can keep track of how long they’ve been frozen.
When it’s time to cook, you don’t need to thaw your fries before reheating. In fact, cooking them straight from the freezer ensures they’ll be crispy and golden. Preheat your oven, air fryer, or deep fryer to the temperature you’d typically use for cooking French fries. Place the frozen fries in a single layer on a baking sheet or in the fryer basket, ensuring they aren’t clumped together, which promotes even cooking.
As for reheating methods, the oven and air fryer provide a healthier alternative to deep frying, but for that classic taste and texture, a quick plunge into hot oil works wonders. Remember, the key is to not overcrowd the cooking surface, so you may need to work in batches.
Enjoy your perfectly crispy fries, fresh from the freezer!