
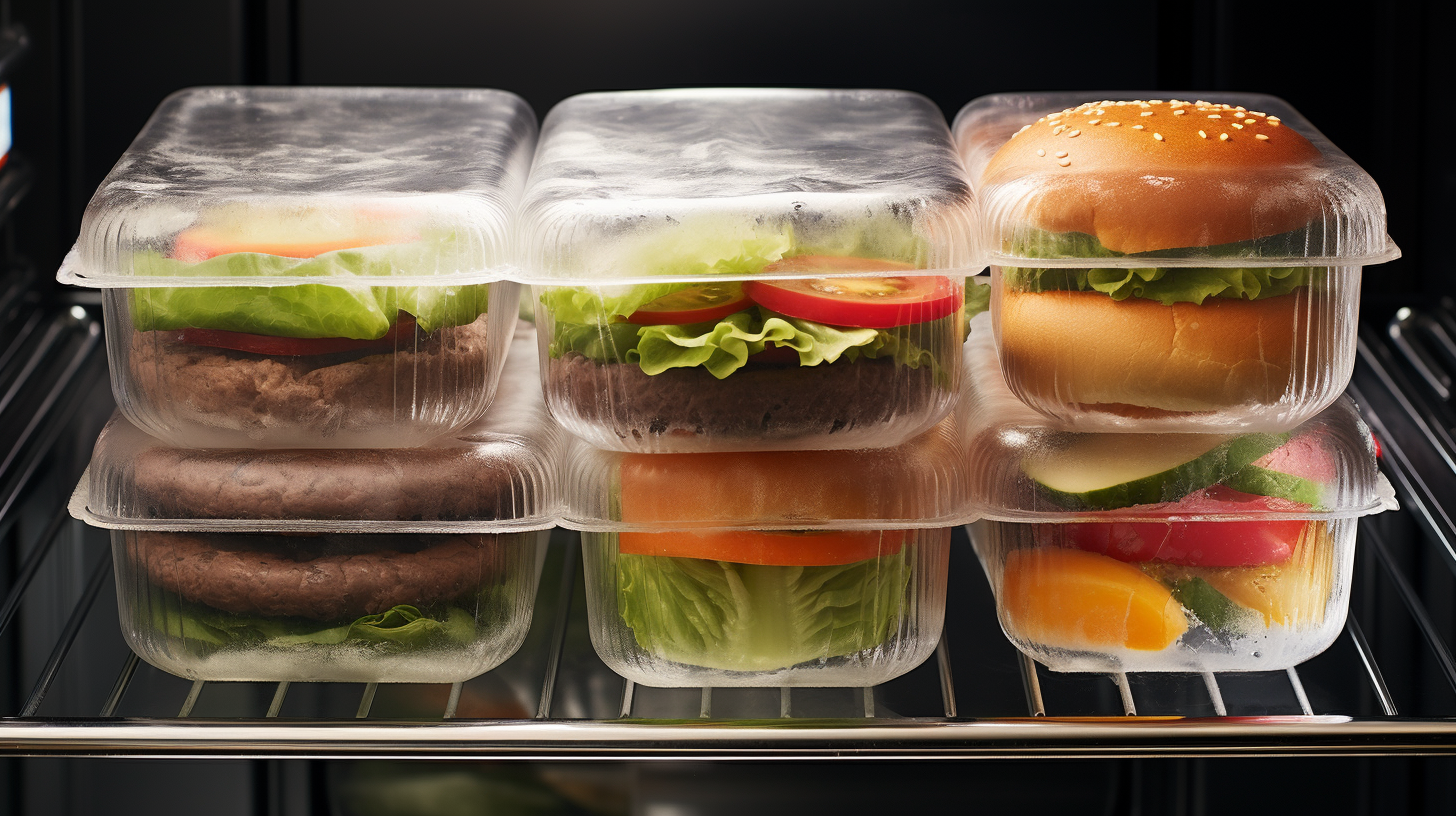
As the saying goes, ‘waste not, want not,’ and when it comes to preserving those extra hamburger buns from your latest cookout, freezing is your ally. You’ve likely found yourself with more buns than burgers at some point, but throwing them away feels impractical and wasteful.
To avoid this, you must first ensure the buns are at peak freshness before you even think about freezing—stale bread only worsens in the freezer. Next, you’ll need to wrap them properly to ward off freezer burn and the absorption of odors that can compromise their taste.
In the following sections, you’ll learn the tricks to maintaining that just-baked flavor and texture, and how to revive your buns to perfection once they’re thawed, leaving your future meals and impromptu gatherings always a step ahead.
Key Takeaways
- Choose fresh buns with low preservative content
- Wrap each bun tightly to prevent air pockets
- Lay the bag flat in the freezer for even freezing
- Thaw buns at room temperature for about 30 minutes
Selecting Quality Buns
Before you consider freezing hamburger buns, it’s essential to choose ones that are fresh and of high quality, as these will yield the best results after thawing. Now, let’s get down to it.
The market’s brimming with bun varieties—whole wheat, white, brioche, sesame-seeded, and more. You’ve got options, but not all buns are created equal when it comes to freezing.
Here’s the scoop: Look for buns with a lower preservative content. These tend to be the artisanal or bakery-style ones that don’t sit on the shelf for weeks on end. Why does this matter? Buns with fewer preservatives often mean less chemicals and a fresher taste. Sure, they mightn’t last as long on the counter, but they’re generally better for freezing because they retain that fresh-baked quality when you warm them up later.
Don’t just grab any pack off the shelf. Give them a gentle squeeze to ensure they’re soft and springy, not stiff or stale. If you’re unsure about freshness, check the bake date if it’s available. Remember, the fresher the buns when they go into the freezer, the better they’ll taste when they come out.
Preparing Buns for Freezing
Wrapping your hamburger buns snugly in plastic wrap or aluminum foil is the first step to ensuring they maintain their freshness in the freezer. After your careful bun selection, it’s crucial to protect them from freezer burn and the ravages of ice crystal formation.
Begin by separating your buns if they’re still attached at the seams. This allows you to wrap each bun individually, providing an extra layer of moisture control. Remember, moisture is the enemy when it comes to freezing bread; it can result in a soggy, unpleasant texture when thawed.
Take each bun and wrap it tightly, ensuring there are no air pockets or loose ends. Air pockets can lead to ice formation, which is why a tight wrap is essential for long-term freshness. If you’re eco-conscious and prefer to avoid single-use plastics, consider using beeswax wraps as a reusable alternative.
Once wrapped, place your buns in a heavy-duty freezer bag. Squeeze out as much air as possible before sealing the bag. This step is vital for moisture control and to prevent freezer burn. Don’t forget to label the bag with the date, so you’ll know how long the buns have been stored.
Proper Freezing Techniques
To maximize the shelf life of your hamburger buns in the freezer, it’s essential to employ proper freezing techniques that prevent ice crystals and preserve the bread’s texture. Start with bun selection; choose fresh buns without any signs of mold or staleness. Stale buns tend to not freeze as well, and any existing mold can spread through the bun in the freezer.
Moisture control is critical. Before freezing, ensure your buns are completely cool to prevent condensation. This reduces ice crystal formation, which can degrade the quality. Wrap each bun individually in plastic wrap, then place them in a heavy-duty freezer bag, squeezing out as much air as possible before sealing.
Here’s a practical table to guide you through the process:
| Step | Description |
|---|---|
| 1 | Bun Selection – Choose fresh, mold-free buns. |
| 2 | Cooling – Allow buns to cool completely to room temperature. |
| 3 | Wrapping – Individually wrap buns to protect against freezer burn. |
| 4 | Bagging – Place wrapped buns in a freezer bag, releasing excess air. |
| 5 | Freezing – Lay the bag flat in the freezer to allow even freezing. |
Storing Buns Long-Term
When storing your hamburger buns for extended periods, it’s vital to maintain their quality by keeping them in a consistently cold and stable freezer environment.
To ensure they stay fresh and delicious for when you’re ready to use them, you’ll need to focus on bun organization and moisture control. Here’s how you can do that:
- Bun Organization: Arrange your buns in single layers or with parchment paper between them to prevent sticking. This makes it easier to grab just what you need without defrosting the whole batch.
- Moisture Control: Before sealing your buns in a freezer-safe bag or container, squeeze out as much air as possible. This helps prevent freezer burn and keeps moisture at bay.
- Labeling: Always write the date on the packaging. Knowing when you froze your buns will help you use them within their optimal freshness period, which is typically three months.
- Consistent Freezing: Avoid frequent temperature changes. Make sure your buns aren’t placed in the freezer door where they’re subject to fluctuating temperatures. Instead, store them in the back of the freezer where it’s coldest.
Thawing and Reheating Tips
Before you can enjoy your perfectly preserved hamburger buns, you’ll need to properly thaw and reheate them to maintain their quality and taste. To ensure the bread texture remains as fresh as possible, let’s dive into some practical tips.
When you’re ready to thaw, remove the buns from the freezer and leave them at room temperature. This process should take about 30 minutes. Be patient; rushing can lead to uneven thawing and a compromised texture.
Reheating is just as crucial. If you have time, warming them in an oven set to 350°F for a few minutes can revive the buns to a near-fresh state. Watch closely to prevent over-browning. However, beware of microwave pitfalls. Microwaves can make your buns chewy or soggy if not used correctly. If you must use a microwave, set it to a low power mode and heat in short intervals, checking frequently.
For clarity, here’s a quick reference table:
| Method | Thawing Time |
|---|---|
| Room Temperature | ~30 minutes |
| Oven | 3-5 minutes |
| Microwave | Short intervals |
Following these guidelines will help you savor the buns as if they were never frozen.