If you’re looking for a delicious and nutritious way to enjoy strawberries all year round, then look no further than the art of dehydrating. In this article, you will learn the simple yet effective process of dehydrating strawberries using a food dehydrator. By following these easy steps, you’ll be able to preserve the vibrant flavors and nutrients of strawberries while enjoying their chewy texture as a snack, adding them to baked goods, or using them as a topping for your morning yogurt. Get ready to embark on a dehydrating adventure that will keep your taste buds satisfied and your pantry stocked with these delightful treats.
Preparing the Strawberries
Selecting ripe strawberries
Before dehydrating strawberries, it is essential to choose the right ones. Opt for ripe strawberries that are bright red in color, firm to the touch, and have a sweet aroma. Avoid strawberries that are overly ripe or have moldy spots as they may not dehydrate well.
Washing the strawberries
To ensure the strawberries are free from any dirt or contaminants, give them a thorough wash. Start by placing the strawberries in a colander and rinse them under cool running water. Gently rub each strawberry to remove any dirt or debris. Pat them dry with a clean kitchen towel.
Removing the stems and leaves
To prepare the strawberries for dehydration, remove the stems and leaves. The stems can be easily removed by grasping the green cap between your thumb and index finger and twisting it gently. If desired, you can also use a paring knife to cut out the stems. Ensure that you remove all of the stems and leaves to prevent any bitter taste during the dehydration process.
Slicing the Strawberries
Choosing the slicing method
There are several slicing methods you can choose from when preparing strawberries for dehydration. The method you choose will depend on your preferences and the final result you desire. Some options include slicing the strawberries into rounds, cutting them into halves, or even leaving them whole for a different texture.
Using a sharp knife
If you prefer a more hands-on approach, using a sharp knife is the way to go. Start by ensuring your knife is sharp, as a dull knife can crush the strawberries instead of providing a clean cut. Slice the strawberries according to your desired thickness, making sure each slice is uniform for even dehydration.
Using a mandoline slicer
For those who prefer precision and consistency, a mandoline slicer can be an excellent tool. Set the mandoline to your desired thickness and carefully slide each strawberry across the blade. This method ensures consistent slices and can save you time in the preparation process.
Pre-Treatment Options
Optional sweetening
If you prefer sweeter dehydrated strawberries, you can opt to sweeten them before dehydration. Toss the sliced strawberries in a bowl with a sprinkle of granulated sugar or a drizzle of honey. Let them sit for a few minutes to allow the strawberries to absorb the sweetness before proceeding with the dehydration process.
Optional lemon juice
To enhance the flavor and prolong the shelf life of your dehydrated strawberries, consider adding a bit of lemon juice. Squeeze fresh lemon juice over the sliced strawberries and gently toss them to ensure even distribution. The acid in the lemon juice helps prevent browning and adds a zesty touch to the strawberries.
Optional vinegar
Another option for preserving the color and texture of your dehydrated strawberries is to use vinegar. Dilute white vinegar with water in a bowl and soak the sliced strawberries for a few minutes. Drain and pat them dry before placing them in the food dehydrator. The vinegar helps maintain the vibrant red color of the strawberries during the dehydration process.
Optional blanching
Blanching strawberries before dehydration can help preserve their color and texture. Start by bringing a pot of water to boil and preparing an ice bath. Submerge the sliced strawberries in the boiling water for about 30 seconds, then transfer them to the ice bath to cool quickly. This blanching process helps retain the strawberries’ vibrant color before dehydrating.
Using a Food Dehydrator
Setting up the food dehydrator
Prepare your food dehydrator by thoroughly cleaning it and ensuring it is in proper working condition. Follow the manufacturer’s instructions to assemble the dehydrator if necessary. Place it in a well-ventilated area, away from any obstructions.
Arranging the sliced strawberries
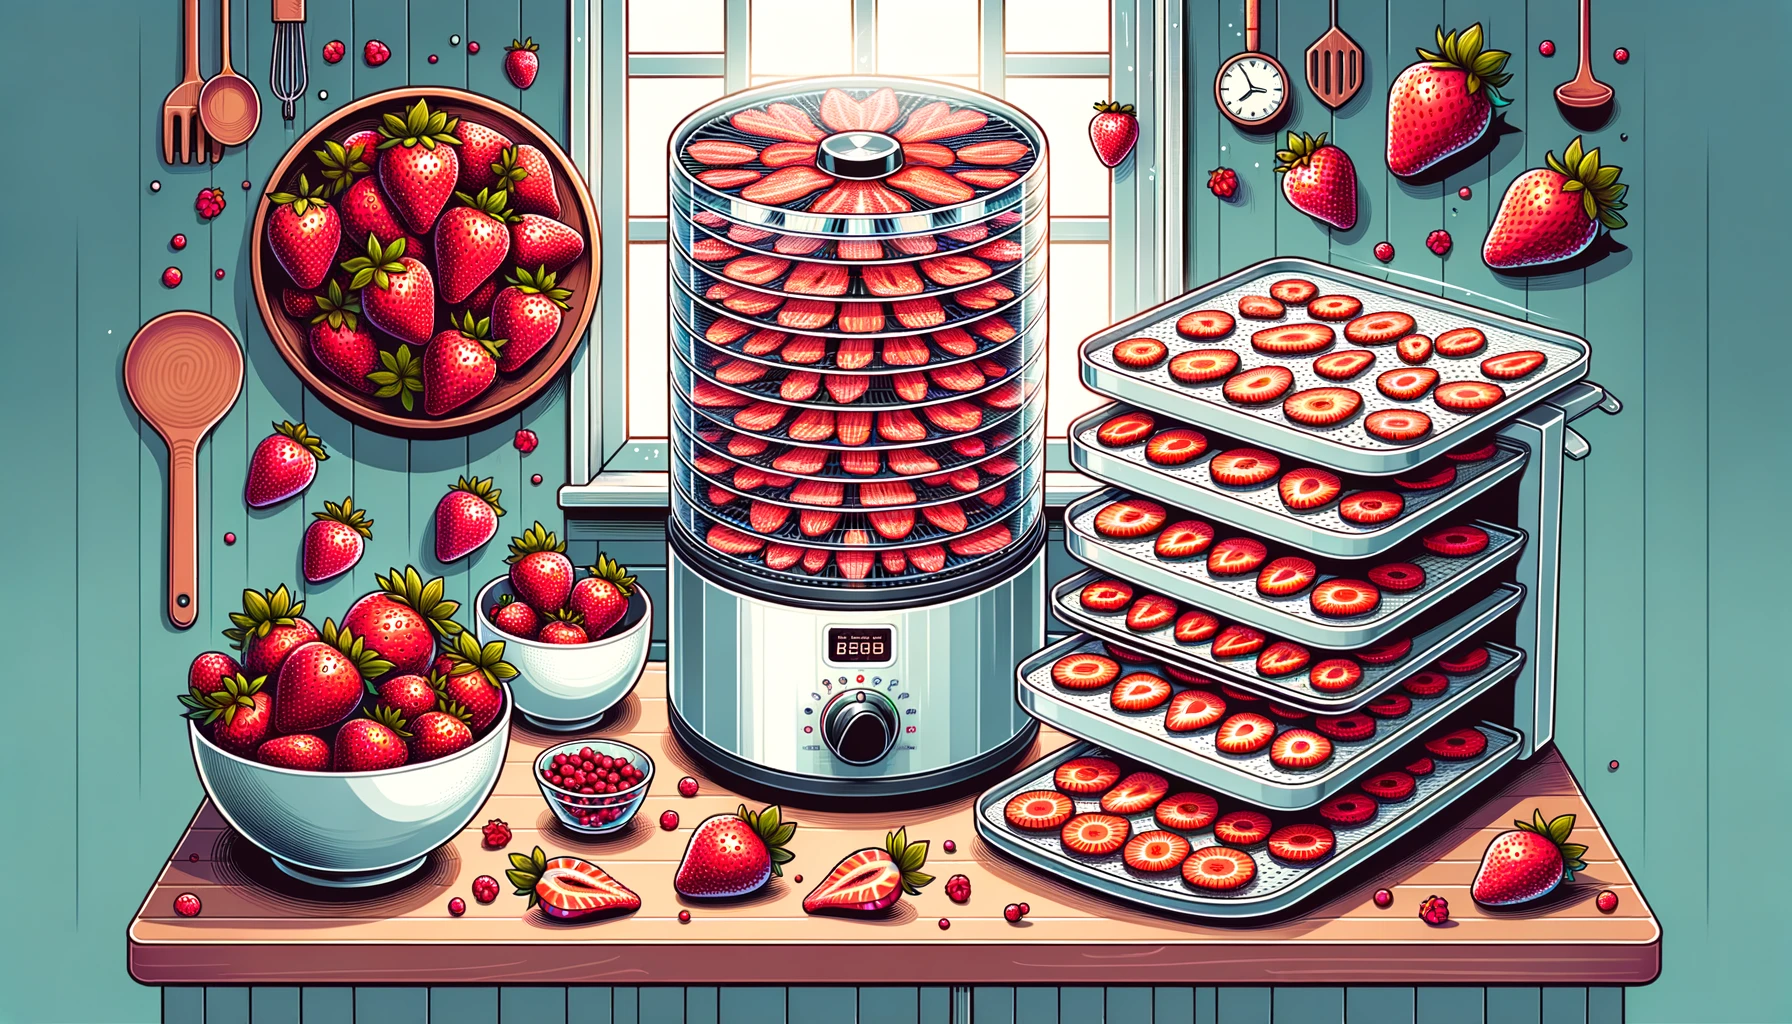
Before placing the strawberries on the dehydrator trays, make sure they are evenly spaced and not touching each other. This allows for proper air circulation and ensures even dehydration. Spread the sliced strawberries in a single layer on each tray, making sure there is enough space in between for the air to flow.
Stacking the trays properly
If your food dehydrator consists of multiple trays, make sure to stack them in the correct order. Follow the manufacturer’s instructions, as each dehydrator may have a specific arrangement. Properly stacking the trays facilitates efficient drying and helps prevent moisture from accumulating.
Adjusting the temperature and time
Consult your food dehydrator’s user manual or instructions for the recommended temperature and time settings. Typically, strawberry dehydration is done at a low temperature, around 135°F (57°C). Adjust the temperature accordingly and set the timer based on your dehydrator’s guidelines. Note that the drying time may vary depending on factors such as humidity and the thickness of the strawberries.
Rotating the trays if necessary
During the dehydration process, it is a good idea to rotate the trays to ensure even drying. If your dehydrator does not have a built-in rotation feature, manually rotate the trays at regular intervals. This helps promote consistent airflow and prevents any spots from remaining under- or over-dried.
Dehydration Time and Temperature
Determining the appropriate temperature
When dehydrating strawberries, it is crucial to maintain a low temperature to preserve their color, flavor, and nutrients. Aim for a temperature between 125°F to 135°F (52°C to 57°C). Avoid using higher temperatures, as this can lead to uneven drying and may affect the quality of the end product.
Considering the humidity level
The humidity level in your environment can impact the dehydration process. If you live in a humid climate, it may take longer for the strawberries to dehydrate fully. In such cases, consider using a lower temperature or increasing the drying time to compensate for the higher moisture content in the air.
Typical dehydration time
The dehydration time for strawberries can vary depending on factors such as the thickness of the slices, the moisture content of the strawberries, and the specific dehydrator being used. On average, it takes around 8 to 12 hours to dehydrate strawberries fully. However, it is essential to regularly check the strawberries for doneness to prevent over-drying.
Checking for Dehydration
Testing the texture
To determine if the strawberries are adequately dehydrated, check their texture. When fully dehydrated, the strawberries should be dry to the touch and slightly leathery. They should not feel sticky or moist. If the strawberries still have moisture, continue the dehydration process until they reach the desired texture.
Checking for moisture content
Another way to check for dehydration is to break a slice of strawberry in half. The interior should be uniform in color and texture, indicating that it is completely dehydrated. If you notice any moisture in the center or an inconsistent texture, the strawberries need more time in the dehydrator.
Cooling and Storing Dehydrated Strawberries
Allowing the strawberries to cool
After removing the dehydrated strawberries from the food dehydrator, let them cool completely before storing. This allows the moisture to distribute evenly and prevents condensation from forming in the storage containers.
Storing in airtight containers
To maintain the quality and freshness of your dehydrated strawberries, transfer them to airtight containers. Use glass jars or food-grade plastic containers with tight-fitting lids to ensure no air or moisture can enter. This helps prevent spoilage and keeps the strawberries crispy.
Choosing the right storage location
Store your dehydrated strawberries in a cool, dry place away from direct sunlight. Avoid storing them in areas with excess heat or humidity, as this can affect their shelf life and texture. A pantry or cupboard is an ideal location for long-term storage.
Ensuring no moisture is present
Before sealing the containers, make sure the dehydrated strawberries are completely dry and free from any moisture. Even a small amount of moisture can lead to mold or spoilage. If you notice any signs of moisture, return the strawberries to the dehydrator for additional drying time.
Rehydrating Dehydrated Strawberries
Using water or liquid
To rehydrate dehydrated strawberries, place them in a bowl and cover them with warm water, fruit juice, or any liquid of your choice. Allow the strawberries to soak for about 15 to 30 minutes until they have absorbed the liquid and regain their plumpness. Drain any excess liquid before using or consuming.
Soaking time
The soaking time for rehydrating dehydrated strawberries can vary depending on personal preference and the desired texture. If you prefer a softer texture, allow the strawberries to soak for a longer duration. Adjust the soaking time according to your recipe or desired consistency.
Alternative rehydration methods
Apart from using liquid, there are other creative ways to rehydrate dehydrated strawberries. You can incorporate them into recipes that require cooking or simmering, as the strawberries will naturally rehydrate during the cooking process. Additionally, mixing dehydrated strawberries with moist ingredients like yogurt or cream can also rehydrate them.
Utilizing Dehydrated Strawberries
Enjoying as a snack
Dehydrated strawberries make for a delicious and nutritious snack on their own. Their concentrated sweetness and chewy texture make them a perfect alternative to sugary candies or snacks. Enjoy them as a guilt-free treat throughout the day or take them on-the-go for a quick and healthy boost of energy.
Using in baked goods
Add a burst of natural sweetness and flavor to your baked goods by incorporating dehydrated strawberries. Whether it’s cookies, muffins, cakes, or bread, chop the dehydrated strawberries into small pieces or grind them into a powder and mix them into the batter. The strawberries will rehydrate during the baking process, infusing your treats with their delightful taste.
Adding to cereals or granola
Sprinkle dehydrated strawberries onto your favorite cereal or granola for an extra pop of fruity goodness. The strawberries’ chewy texture gives a delightful contrast to the crunchy grains, enhancing your breakfast experience. You can also toss them into homemade trail mixes for a delightful and colorful snack.
Incorporating into smoothies
Give your smoothies a vibrant and flavorful twist by adding dehydrated strawberries. Simply blend them along with your other desired fruits, yogurt, or milk for a burst of strawberry goodness. The dehydrated strawberries will rehydrate during the blending process, infusing your smoothie with their natural sweetness.
Properly Packaging Dehydrated Strawberries
Vacuum-sealing
For long-term storage, consider vacuum-sealing your dehydrated strawberries. Vacuum-sealing removes all the air from the packaging, ensuring that no moisture or oxygen can reach the strawberries. This method helps maintain their quality and extends their shelf life.
Using oxygen absorbers
To further enhance the storage of dehydrated strawberries, you can include oxygen absorbers in the packaging. These small packets contain iron powder that absorbs any remaining oxygen in the sealed container. By minimizing oxygen exposure, you can prevent oxidation and extend the shelf life of the strawberries.
Labeling and dating
To keep track of the freshness and ensure proper rotation, label your dehydrated strawberries with the date of packaging. Use waterproof and smudge-proof labels or markers to ensure the information remains visible and intact. Place the labeled containers in a way that allows easy access to older batches, ensuring you use them before newer ones.


